Sometimes, we delete data to manage space for other files without realizing we have a copy of these files safely stored. Accidental file deletions in Mac can lead to significant data loss, whether through human error, software hardware malfunctions, or unwanted malware activity. We feel distressed when we need some important files but can not find them in the expected location. Then, we run folder to folder for the missing files. In this article, we have mentioned five ways you can try to recover deleted files from your Mac.
There are various methods you can try to recover deleted files on Mac, but the recovery depends on how they were deleted and your backup practices.
Step 1: Use Spotlight Search

Mac features Spotlight Search, an integral tool across its operating systems (macOS, iOS, iPadOS, and visionOS). This feature quickly helps you find various items in the device, including documents, pictures, music, applications, files, apps, and system settings.
To launch Spotlight on a Mac, use the magnifying glass icon in the menu bar or press the shortcut Command (⌘) + Spacebar. On iOS devices, swipe down from the Home screen’s center to access the search functionality.
Enter the file name you are looking for in the spotlight search. You can narrow your search specificity by entering file types (e.g., “.docx,” “.pdf,” “.jpg”) to filter results accurately.
Step 2: Check the Trash Bin
In cases where the file isn’t located via Spotlight, look in the Trash Bin. Open the Trash folder, and if the deleted files are present there, right-click and select “Put Back.” This action will get the file restored to its original location from where it was deleted and will be removed from the trash bin.
Step 3: Time Machine Backup Recovery

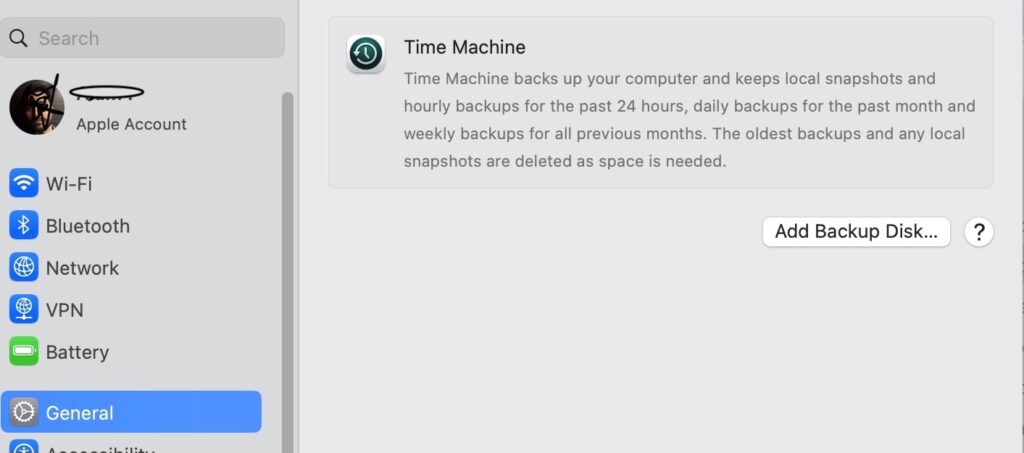
If deleted files are not available in the trash bin of your Mac, you need to check if the Time Machine backups are set up. If it is already ON and activated, you can proceed to recover deleted files on your Mac via the below-mentioned backup restoration process.
1. Connect the Time Machine backup drive.
2. Navigate to the folder where the file was initially located.
3. Then click the Time Machine icon in the menu bar and select Enter Time Machine.
4. Use the timeline on the right to traverse back to a point before the file was deleted.
5. Select the respective file and click “Restore.”
Step 4: iCloud Recovery
This option helps you recover your files if you have saved them on iCloud; you need to sign in with your Apple ID and check the iCloud Drive. You need to click on Account Settings, Scroll down to the Advanced section, and click Restore Files. Then, browse the list of files, select those you wish to restore, and click Restore.
Step 5: Use Data Recovery Software
If all the above-mentioned recovery attempts fail, consider using third-party data recovery software. (Note: Before downloading third-party recovery software, ensure their legitimacy, reliability, and security to avoid malware or virus attacks. You should download software from reliable sources.)
Data recovery software can perform deep scans of your Mac’s file system, identifying recoverable data and helping you recover deleted files on your Mac. If you are not able to use external data recovery applications, you should get expert help recovering your data from the drive.
Important Considerations:
Prompt attempts at file recovery increase the chance of success; new data can overwrite deleted files.
Avoided using the drive where deleted files/folders were initially located.
Regular backup practices using Time Machine or alternative solutions to avoid such distressing situations of data loss.
Also Read: GenAI is a double-edged sword for Defence and Offense in cybersecurity


